How to Batch Rename Files in Photoshop
Photoshop's batch renaming system is a powerful and flexible way to rename bulk files into an orderly system.
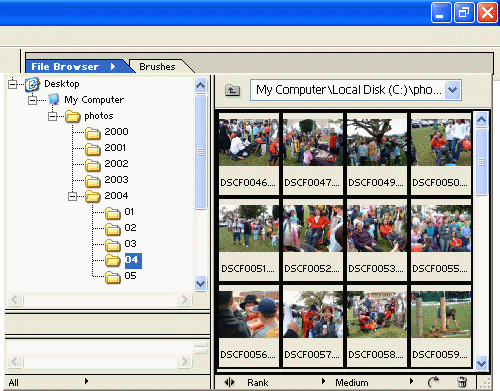
Using the Photoshop File Browser (or Adobe Bridge in CS3), open the folder containing the files and select the ones you wish to rename.
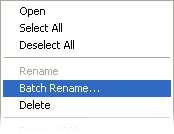 Right-click on any of the selected images and click Batch Rename from the context menu (pictured right). This will give you a window like the one below.
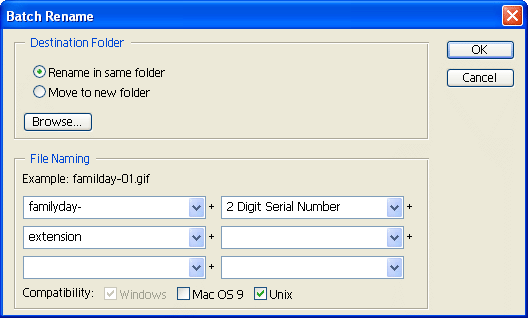
Choose to rename the files in the same folder or move them to a new folder.
The File Naming section is where you specify how the files will be named. There are six drop menus and the contents of each one are added together to make the name. The idea is that at least one of the menus (i.e. one part of the file name) will create sequential numbers or letters.
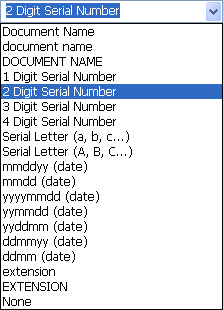 Each drop-menu includes a list of options (pictured right). Starting with the first drop-menu, either select an item from the menu or enter your own text. Add as many parts to the file name as you like (up to 6).
In the example above we entered the word "familyday" in the first menu, followed by a hyphen. This will be the beginning of every file name in the batch.
In the second menu we selected a 2 digit serial number, which will begin at 01 and increment for each file name.
In the third menu we selected a lower-case extension, which will give each file the extension ".jpg". Selecting EXTENSION from the menu would give each file the extension ".JPG".
You can have any combination of fixed text, dates and serial numbers or letters. However you must have at least one serial option - otherwise all your files will have the same name (Photoshop won't actually let you do this, for obvious reasons).
Notice how the batch rename window above gives you an example of what the resulting file names will look like - keep an eye on this to make sure you're doing it correctly. Note: The example extension is gif, but when you perform the rename, Photoshop will figure out that the files actually need to be jpg.
The batch renaming example above has the following results:
Original File Names |
New File Names |
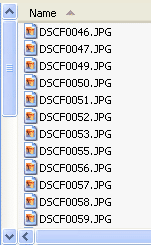 |
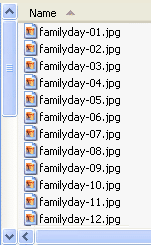 |
Note: The files in this example are digital photos - the original file names were generated by the camera. In this situation it is a good idea to go through the original files and delete any unwanted photos before you rename them. As you can see, files DSCF0048 and DSCF0054 were deleted before the batch rename. The new file names are now nicely numbered - if we had deleted the unwanted files after the rename, the numbers would not be in the same orderly sequence.