Synchronizing Sound and Video in Adobe Premiere
Synchronizing sound and video clips is required to perform any of these tasks:
- Add a new sound effect to an existing video clip.
- Synchronize a music track with video.
- Synchronize a sound recording which was recorded separately to the video.
- Repair a clip in which the sound and video have drifted apart.
In theory the process is fairly straightforward — you just need to move the audio track relative to the video track until synch is achieved.
Note: If you have a single file containing both the audio and video, you will need to separate them first. See unlinking audio and video.
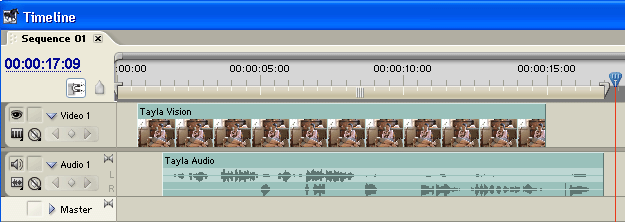
Place the audio and video clips on the timeline roughly where they need to be in relation to each other like so:

From here all you need to do is drag the audio clip left or right until it matches the video. Start by getting it approximately right (preview the project to see how it's going), then zoom in closer on the timeline to get finer control. To get perfect synch you will want to zoom right in to single-frame view.
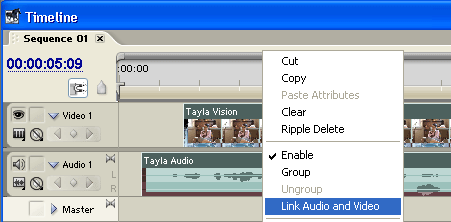
Once the clips are correctly aligned, you might want to link them together to avoid accidentally losing synch. Left-click the video track, hold down your Shift key and click the audio track so both are selected. Right-click either clip and select Link Audio and Video, like so:


Helpful Tips
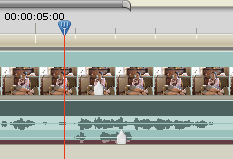
To make synchronization easier, try to find a part of the audio/video which has a sudden sharp noise with a corresponding image. This is what a clapper board is used for — it provides a clear visual reference with a sudden burst of sound.

You may find markers useful to identify reference points in the clip. Marker points show up in the timeline as white makers (pictured right) which can help you to align elements of the video.
If the sound and video were recorded separately, it's possible that they will drift apart over time. This can happen if the recording mechanisms have slightly different record/playback speeds. In this case you will need to adjust the speed of the audio or video slightly to compensate.