Step 3: Create the Matte
In this step we will export the frozen image into Photoshop and create a matte.
- In the Premiere timeline, place the current-time indicator at the start of the Freeze clip.
- From the File menu select File > Export > Frame.
- Save the file as a bitmap.
Now switch to Adobe Photoshop and open the bitmap.
- Using the lasso tool, carefully select the outline of the subject.
- From the File menu select Select > Inverse .
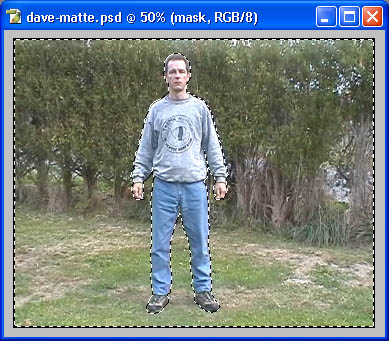
- Hit Delete to clear everything except the subject
- From the File menu select Select > Inverse.
- Fill the selection with black.
Save the file as a PSD file, then close Photoshop and head back to Premiere.
Next Page: Adding the Sparkles